Home Window Tinting: A Complete Guide
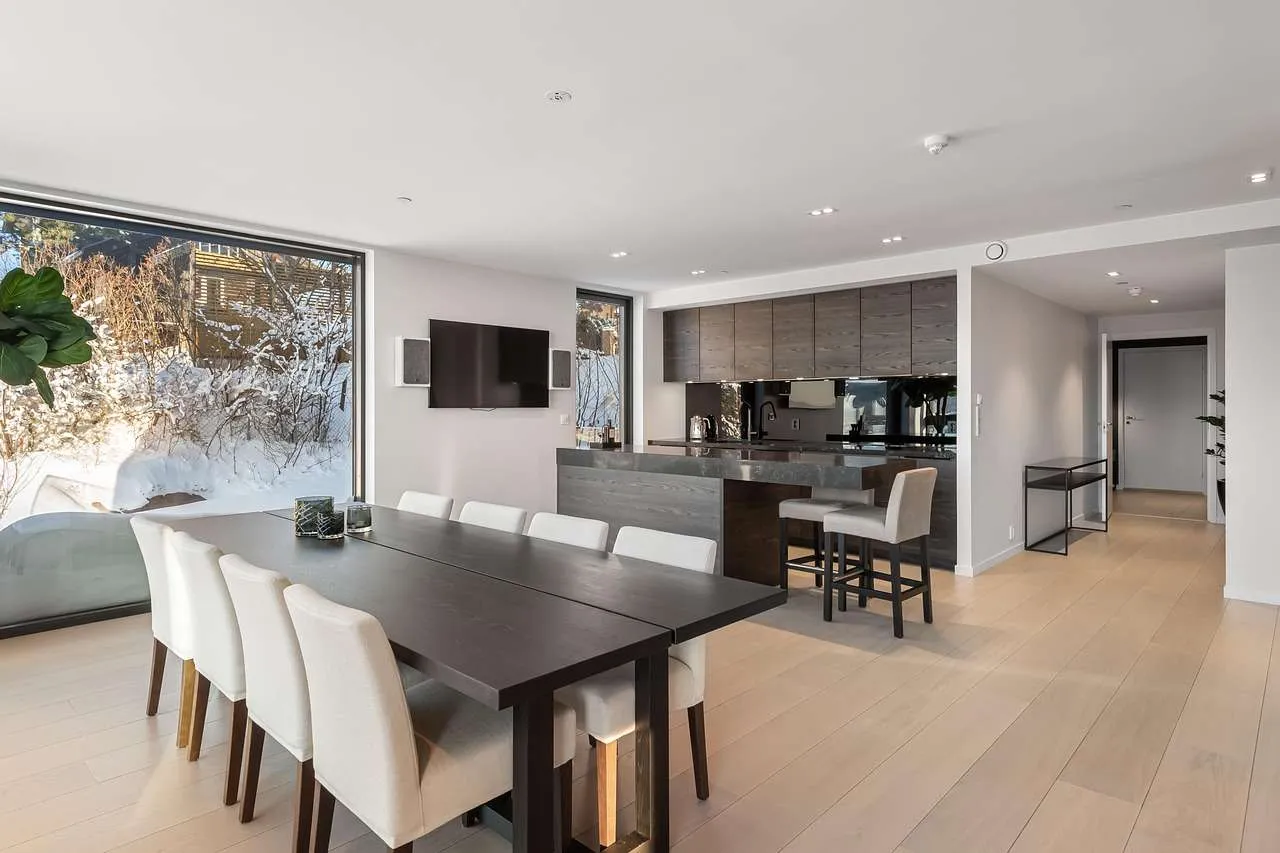
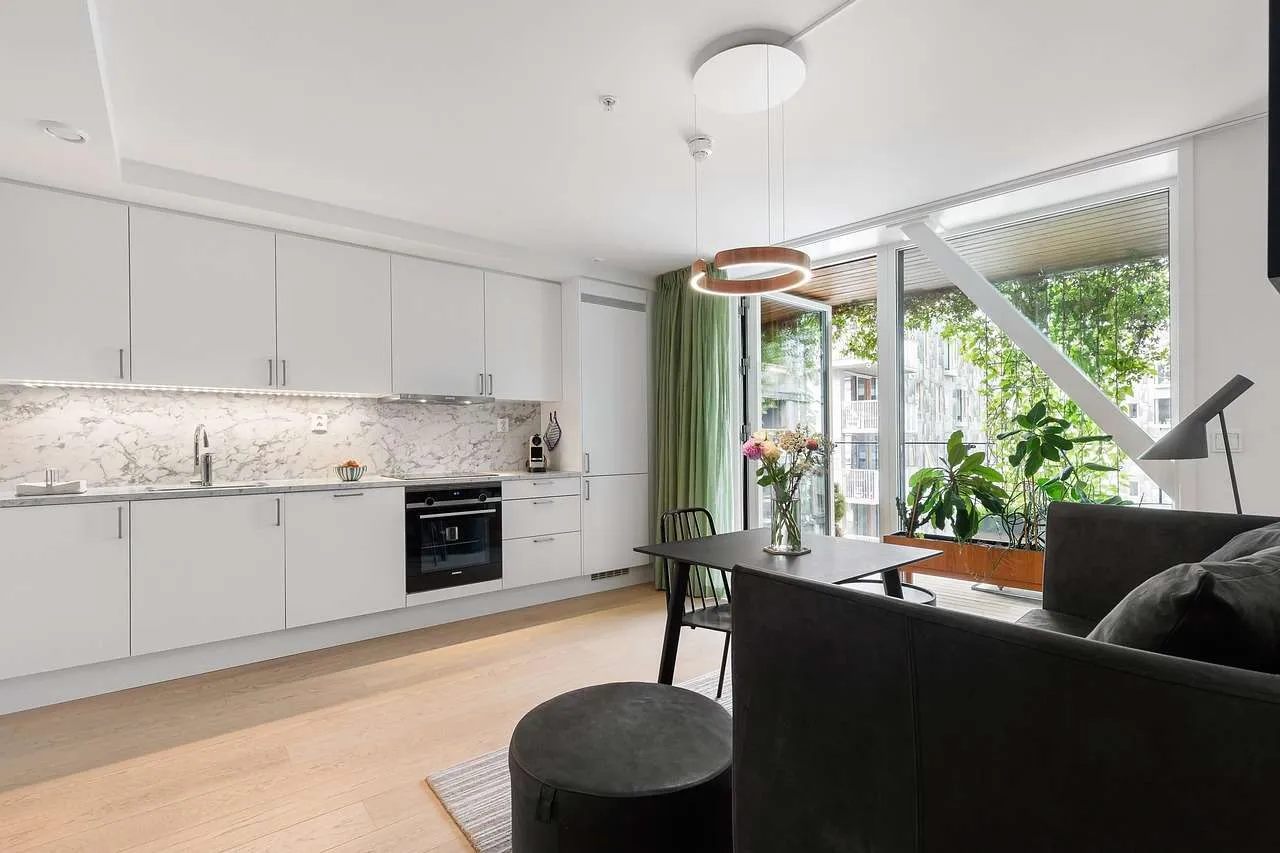
Home window tinting involves applying a thin film to the interior surface of your glass to control heat, light, and glare. The films block UV rays, reduce heat gain, and add privacy while preserving your view. For most homeowners, professional installation ensures a clean finish, proper adhesion, and reliable performance.
What it is and how it works
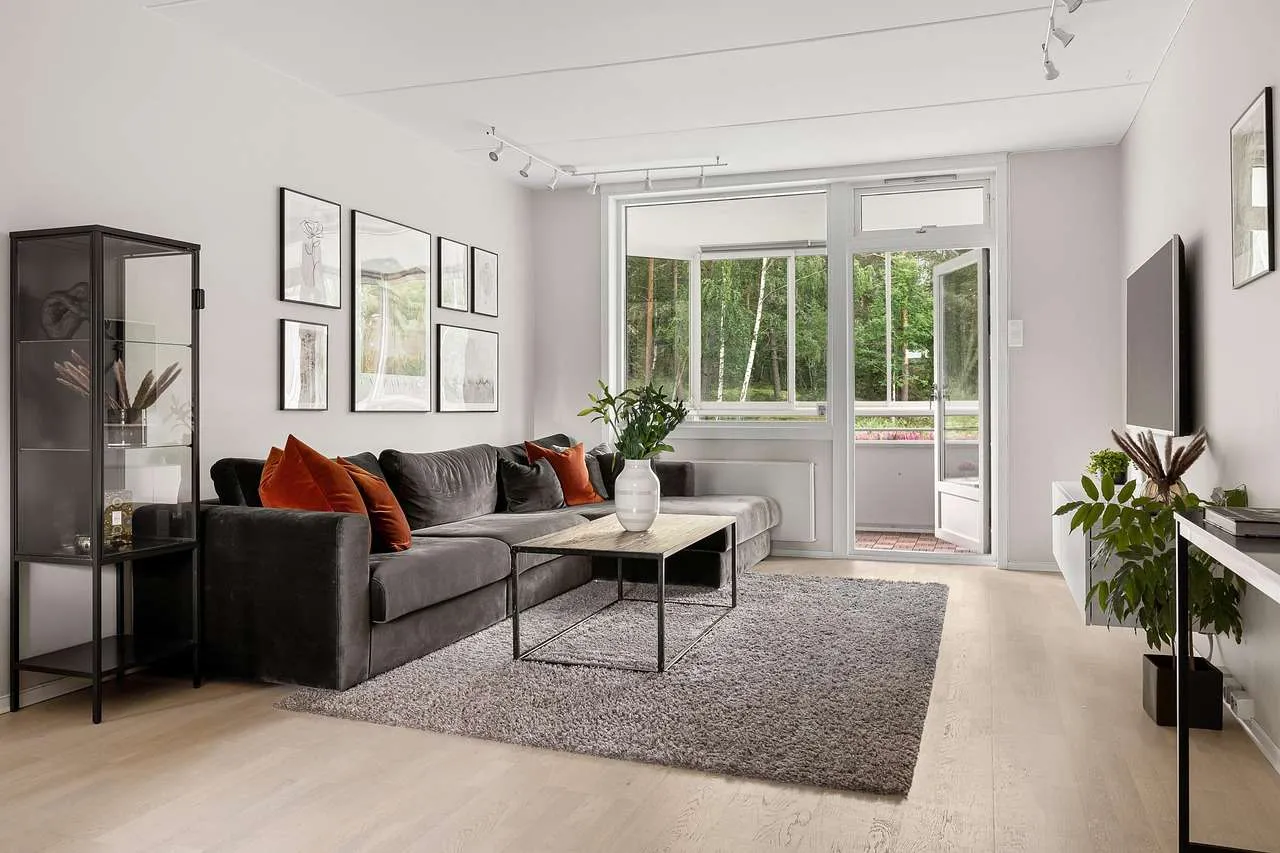
Window films are composite layers bonded to glass. They use pigments, metals, ceramic particles, or carbon to reflect or absorb infrared heat while letting visible light through. The result is cooler interiors, less glare, and slower fading of furniture and flooring due to UV rejection.
Benefits of tinting
- Energy savings: reduces cooling load in hot climates, often lowering AC use by several percent.
- UV protection: blocks up to 99% of UV rays, preserving fabrics and artwork.
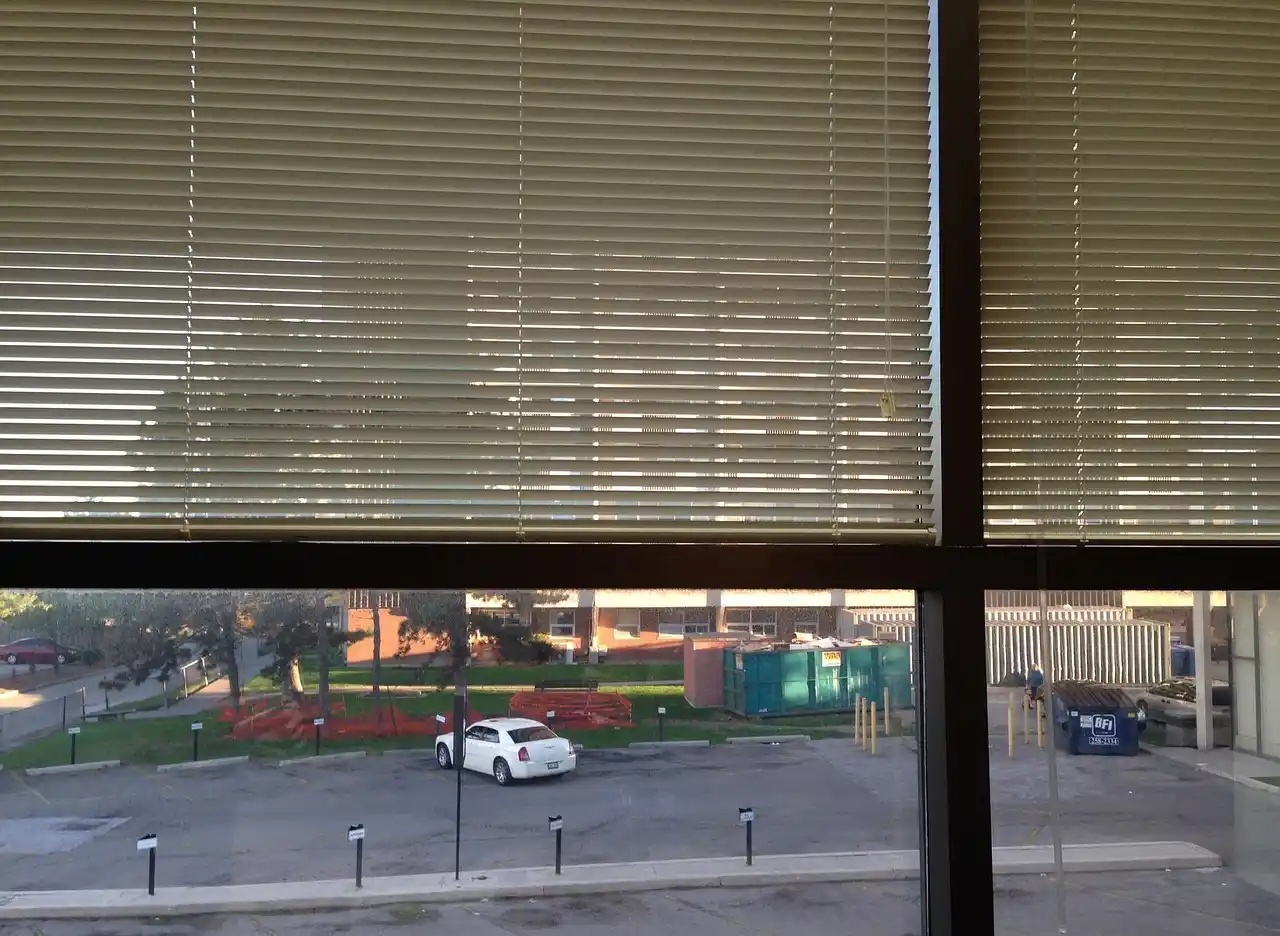
- Glare reduction: improves comfort in rooms with strong sun.
- Privacy and security: makes it harder to see inside during the day and can hold glass together better if broken.
- Interior protection and aesthetics: reduces fading, adds a uniform look.
Types of residential window films
Here is a quick guide to common film types and what they offer.
Dyed films
Dyed films use a dye layer to absorb heat and reduce light. They are typically the least expensive option but can fade over time and may show color changes in bright sun.
Metalized (metal) films
These include metal particles that reflect heat. They offer strong heat rejection and good glare control but can show some reflectivity and may interfere with certain electronics or smart devices if used in very high densities.
Ceramic films
Ceramic films use microscopic ceramic particles to reject heat without adding metal. They are non-reflective, maintain color, and provide excellent UV and glare protection with minimal signal interference.
Carbon films
Carbon-based films deliver a deep, non-reflective tint with solid heat rejection. They resist fading and maintain appearance over time, though typically cost more than dyed options.
| Type | Heat Rejection | UV Rejection | Appearance | Pros | Cons | Best Use |
|---|---|---|---|---|---|---|
| Dyed | Moderate | Good | Dark tones | Low cost; fade-prone | Limited durability | Budget projects |
| Metalized | High | Very good | Reflective | Excellent heat rejection; glare control | Reflectivity; possible interference | Where reflectivity is acceptable |
| Ceramic | Excellent | Excellent | Non-reflective | Top performance; non-conductive | Higher cost | Best all-around performance |
| Carbon | Very good | Excellent | Non-reflective | Long-lasting color; strong heat rejection | Higher cost than dyed | Balanced performance |
Factors to consider before tinting
- Local laws and HOA rules: some areas limit tint darkness on certain windows.
- Visible light transmission (VLT) and glare needs: balance energy savings with natural daylight and views.
- Window orientation and climate: south-facing panes benefit more from higher heat rejection.
- Warranty and brand: look for manufacturer-backed warranties (often 5–10 years) and installation guarantees.
- Quality of installation: improper installation can cause bubbles, peeling, or glazing separation.
DIY vs professional installation
DIY kits exist, but for most homes a professional installation yields better adhesion, seal, and warranty coverage. Pros bring experience with edge polishing, corner cuts, and ensuring uniform tint across warped or curved panes. They also handle safety concerns when working at height. If you choose to DIY, expect a steeper learning curve, potential mistakes, and a shorter lifespan if not installed correctly.
Costs, ROI, and maintenance
Residential window film costs typically range from 5 to 15 dollars per square foot installed, depending on film type and window size. A common home project with multiple windows often lands in the 1,000–4,000 dollar range. While the upfront price varies, many homeowners see energy savings of 5–20% on cooling costs in hot climates, plus extended furniture and flooring life due to UV protection. Maintenance is simple: clean with non-ammonia glass cleaners and a soft cloth; avoid abrasive tools to prevent scratching. Replacing films, if needed, is typically straightforward under warranty.
Choosing a trusted installer (EEAT)
For best results and a trustworthy experience, prefer installers who demonstrate Expertise and Authority: years in business, clear portfolios, and customer references. Look for manufacturer-approved or certified installers, proof of licensing where required, and transparent warranties covering adhesion, film integrity, and fading. Read reviews and request before/after photos or case studies. Ask about the process, grid alignment on large panes, and whether the job includes interior or exterior edge sealing. A quality installer will provide a written estimate, a timeline, and a warranty document.
Comparison and quick take
| Aspect | Recommendation | Why |
|---|---|---|
| Best overall | Ceramic film | High heat rejection, non-reflective, long-lasting |
| Budget option | Dyed film | Low cost, basic glare control |
| Highest privacy | Carbon or dyed with darker shade | Greater opacity; check local laws |
| Best value for tech users | Ceramic or carbon | Minimal interference with devices; strong performance |
Conclusion, Home window tinting improves comfort, protects interiors, saves energy, and adds privacy. Choose the right film type (ceramic for all-around performance, carbon for color with good heat rejection, or dyed for budget) and hire a licensed installer with proven warranties and solid client reviews to ensure a durable, compliant finish.